

Cricut Designs
You just gotta love your cricut. My daughter gave me one for Christmas, several years ago. Man, have I created a lot of stuff with it. I was a bit intimidated at first, as it stayed in the box for a few months after I got it. Finally, when I opened it and set it up, the learning began! I have used my cricut for many different craft projects. Canvas, cutting boards, spoon rests, coozies, shirts, paper flowers, wall decor, and the list goes on and on.
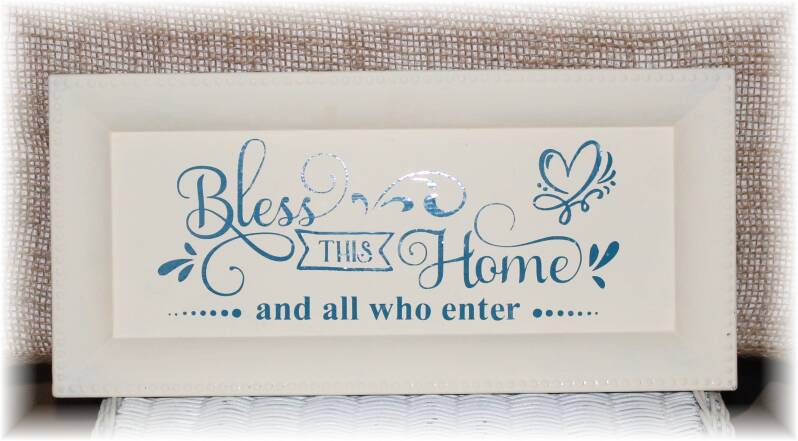
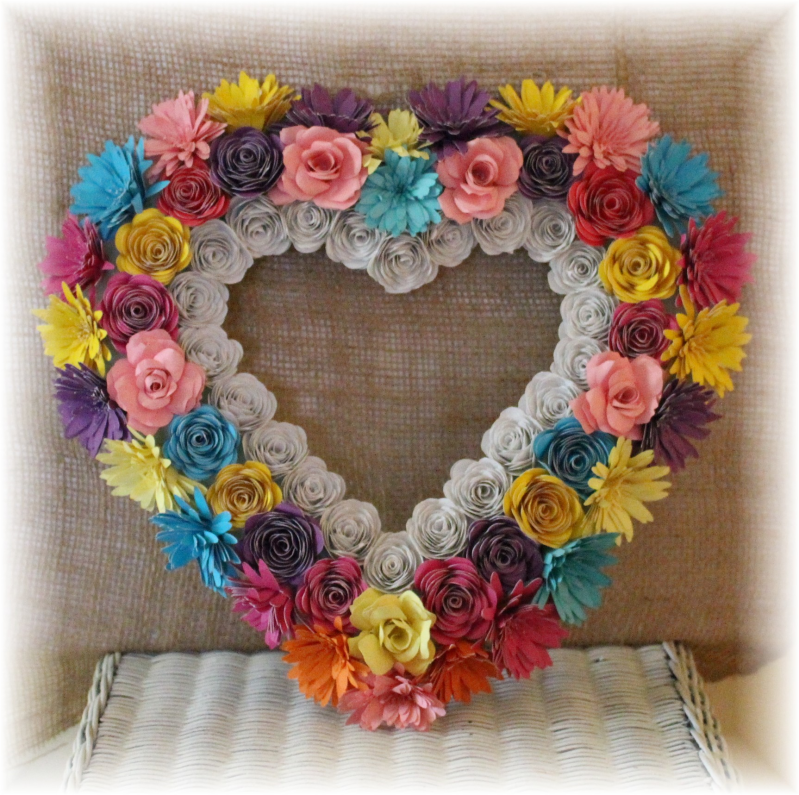
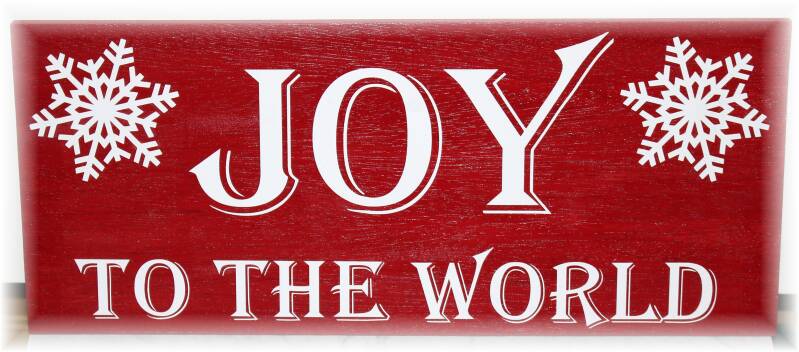
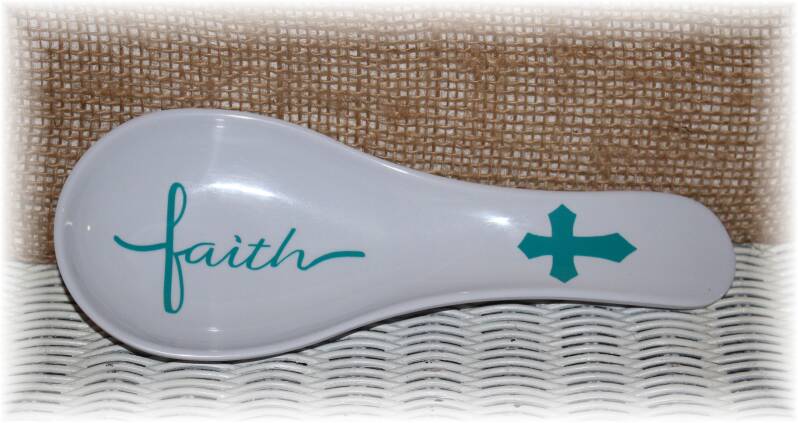
Check out some of the things that I have made.
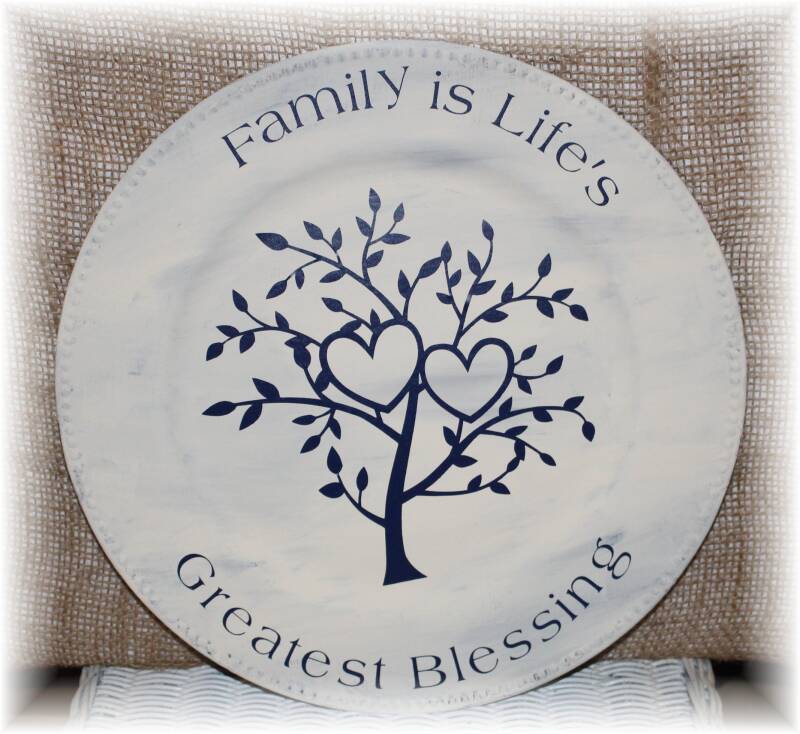
This is a charger plate that I painted and put a cricut design on. I glued on a wall hanger and now I have a plate that I can hang


Getting Started with a Cricut Cutting Machine: A Beginner’s Guide
If you've been exploring the world of crafting, chances are you've heard of the Cricut cutting machine. Whether you’re a DIY enthusiast, a small business owner, or someone looking to add a personal touch to gifts and home décor, a Cricut can take your creativity to the next level. Today, I’ll walk you through what a Cricut machine is, what it can do, and how to start using one!
What Is a Cricut Cutting Machine?
A Cricut (pronounced "cricket") is a smart cutting machine that can precisely cut a wide range of materials like vinyl, cardstock, iron-on transfers, paper, fabric, and even thin wood or leather (depending on the model). Think of it as your crafting assistant — it can cut intricate designs that would take hours to do by hand, and it does it perfectly every time!
There are several Cricut models available, like the Cricut Explore, Cricut Maker, and Cricut Joy, each offering different features depending on your needs.
What Can You Make with a Cricut?
-
Custom T-shirts (with iron-on vinyl)
-
Greeting cards
-
Stickers and labels
-
Home décor signs
-
Party decorations
-
Jewelry
-
Personalized mugs and tumblers
-
Wall decals
-
Scrapbook embellishments
And honestly, that's just the beginning!
How to Use a Cricut Cutting Machine: Step-by-Step
Step 1: Set Up Your Machine
First, unbox your Cricut and follow the instructions to set it up. You’ll need to:
-
Plug it in and turn it on.
-
Connect it to your computer or mobile device via Bluetooth or USB.
-
Install Cricut Design Space, the software where you’ll create or upload designs.
Step 2: Create or Choose a Design
Open Design Space. You can:
-
Create your own design using their simple tools.
-
Browse the Cricut library for ready-to-make projects.
-
Upload your own images (SVG files work great).
Step 3: Prepare Your Material
Place your material (like vinyl or paper) onto a Cricut mat. There are different mats for different material weights:
-
LightGrip (blue) for thin materials,
-
StandardGrip (green) for medium materials,
-
StrongGrip (purple) for heavier materials.
Smooth it out so it sticks well with no bubbles.
Step 4: Load the Mat and Select Your Settings
Load the mat into the machine by pressing the load button. In Design Space, choose the type of material you're cutting, and the machine will adjust the blade pressure automatically.
Step 5: Cut!
Press the blinking "Go" button on your Cricut, and watch the magic happen! The machine will carefully cut your design.
Step 6: Unload and Finish
Unload the mat and carefully remove your project. If needed, use a weeding tool to peel away excess material around your design.
Then you’re ready to assemble, transfer, or iron on your project!
Tips for Beginners
-
Start simple. Try an easy vinyl decal before jumping into layered or complex projects.
-
Keep your mats clean. Dust and debris can mess with your cuts.
-
Test cuts. If you’re unsure how a material will cut, do a small test cut first.
-
Watch tutorials. There are lots of free YouTube videos that walk you through different Cricut projects.
Final Thoughts
Owning a Cricut opens up a whole new world of creative possibilities. Whether you're making gifts, decorating your home, or even starting a small business, learning how to use your Cricut is both fun and rewarding. With just a little practice, you’ll be amazed at what you can create!
If you’ve been thinking about diving into the Cricut world, there’s no better time than now. Happy crafting!